


Following the previous post about Azure RMS and how organisations can have another layer of security over their sensitive and confidential data (Protect your data with Azure Right Management Services), this post will focus on how Office 365 services can take advantage of this security service.
Before going into details, you should know that Azure RMS is available for those organisations using Microsoft 365 Enterprise (E3 or E5) subscriptions. In addition, this can be accessed by Azure Information Protection Premium P1 or P2 subscription users, providing even more features regarding automating data classification.
To use Azure Information Protection (Azure RMS) on Office 365 services (Exchange Online, SharePoint Online or OneDrive), this service needs to be enabled. Therefore, this post is focusing on steps to verify the activation status on Office 365 services and explaining to enable it.
Exchange Online
If the Azure RMS feature is already activated on your subscription, you can simply define your labels for classification, as well as protection. You can do this by configuring Office 365 to make such protections work automatically with features such as protected voice mail, data loss prevention (DLP) policies or mail flow rules. It’s easy to find out if Azure RMS (Protection Service) is activated on your subscription or not by running the PowerShell script found below, or find out via the Office 365 Admin Center console.
Check Activation via PowerShell
$Cred = Get-Credential
$Session = New-PSSession -ConfigurationName Microsoft.Exchange -ConnectionUri https://ps.outlook.com/powershell/ -Credential $Cred -Authentication Basic –AllowRedirection
Import-PSSession $Session
Get-IRMConfiguration
The result of the command above (Get-IRMConfiguration) shows the activation status. If it is True for the AzureRMSLicensingEnabled parameter, it means it’s activated; otherwise it will return a False flag. To activate the Azure RMS for Exchange online, the line of PowerShell code below is enough to make it work.
Set-IRMConfiguration -AzureRMSLicensingEnabled $true
Check Activation via Office 365 Admin Center
- Login with an account that has access to the Global Admin role.
- Select the Admin tile from existing tiles (see below for an example).
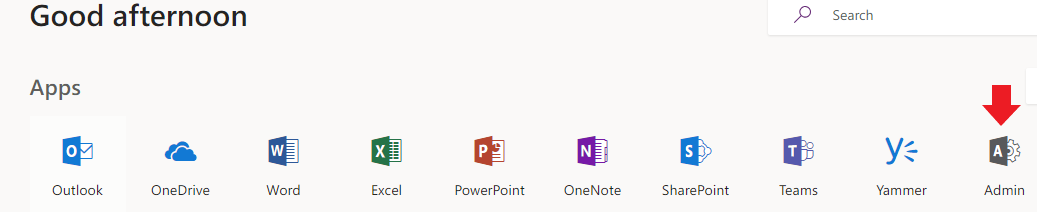
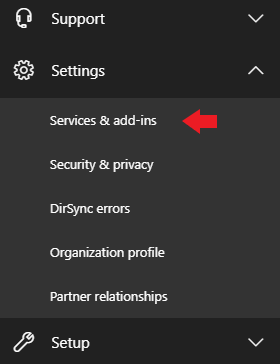
3. Expand the Settings drop-down menu in the left-hand panel and select Services and add-ins.
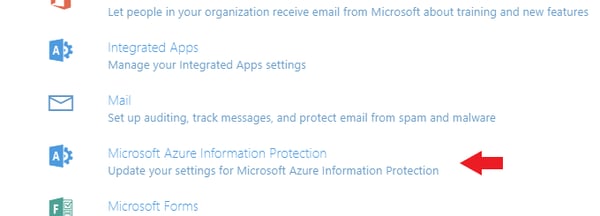
4. Select Microsoft Azure Information Protection from the list of existing services and add-ins, and click on Manage Microsoft Azure Information Protection settings from the window that opens.
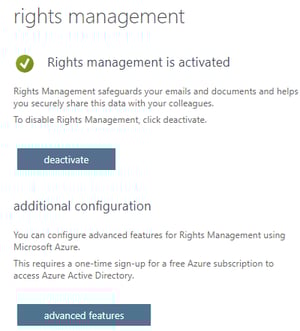
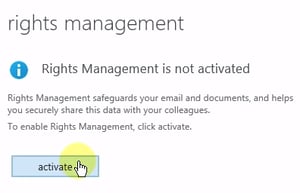
5. The image below shows two different activations statuses. If your status looks similar to the right side of the screenshot, click the Activate button so that Right Management is active (it should then appear similarly to the left panel of the screenshot below).
6. After activation, the configuration can be checked by running the PowerShell command found below. This command will verify all connectivity, retrieving URIs, related licenses and all default templates. Once you’ve finished performing the check, you need to have Overall Result: PASS in the output screen in order to consider the process successful.
Test-IRMConfiguration –Sender pouyak@byte.com.au
SharePoint Online and OneDrive for Business
To protect the files on the SharePoint Online or OneDrive for Business, the information rights management (IRM) service needs to be enabled via the SharePoint admin center. The below steps need to be followed to enable this service:
- Login with an account that has access to the Global Admin role.
- Select the Admin tile from existing tiles (see below for an example).
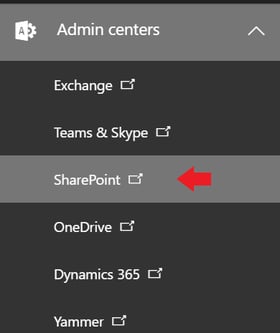
3. Click on SharePoint under Admin Center section on the left side of the page.
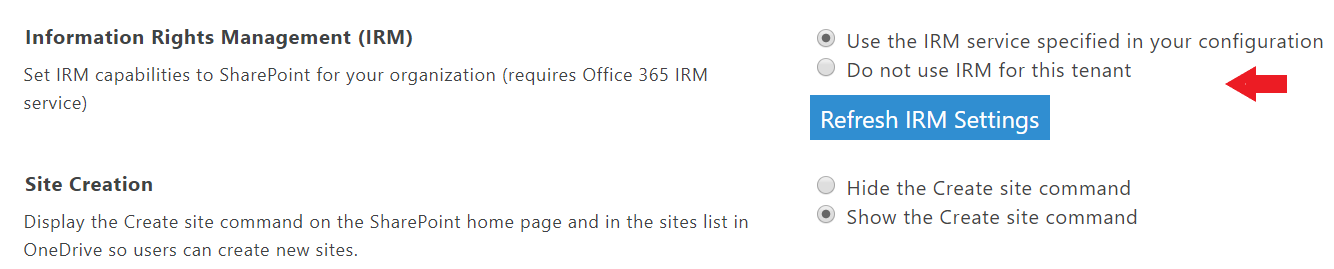
4. Click on Settings on the left side section, and select Use the IRM service specified in your configuration.
a. After changing IRM settings on the global settings and advanced configurations, clicking on Refresh IRM Settings, and your system will refresh and pull up the latest configuration.
5. After configuring the step above, any list or document library can be configured to use IRM to protect files and documents, by defining proper policy and related permissions based on the organisation’s rules and requirements.
After enabling and configuring the IRM service on SharePoint online, users’ OneDrive for Business document libraries or individual folders may be configured to use Right Management protection. Users can enable this by logging into to the OneDrive website and choosing to protect their individual folders. There is no way for Administrator to enable this protection on individual folders for users via SharePoint Admin Center; however, this can be controlled and enabled with a PowerShell script if that’s the method your business chooses to use.
By Pouya Koushandehfar, Subject Matter Expert
If you are looking for flexibility, scalability and cost control in a secure cloud environment, contact us at info@byte.com.au or give us a call at +61 3 9828 9999.